
Gone are the days when you needed a full-scale camera rig to produce captivating video content. With the advancements in iPhone camera technology, you can now shoot professional-grade videos straight from your phone. As an experienced videographer, I can confidently say that with a few practical techniques, your iPhone can become a powerful tool for content creation.
Here are 10 tips to help you maximize its potential.
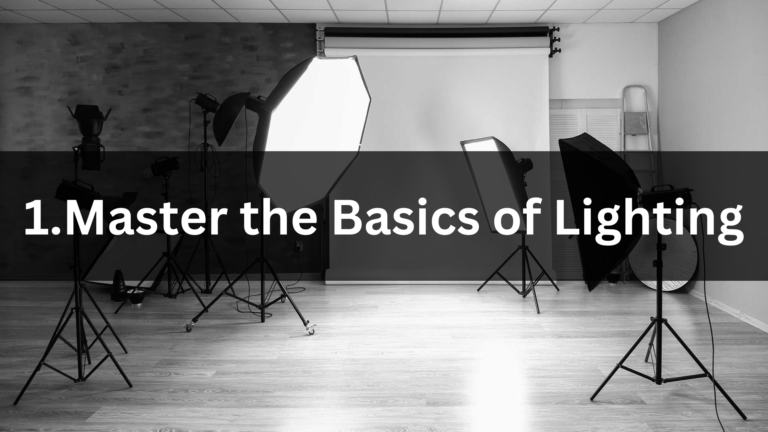
Lighting is the cornerstone of any video production. Without good lighting, even the most advanced camera technology will struggle to capture a high-quality image. Natural light is an excellent resource for mobile videography, especially during the “golden hour,” which occurs shortly after sunrise and before sunset. At these times, the sun is lower in the sky, casting a soft, golden hue that’s perfect for video shoots. Harsh midday sunlight can create unflattering shadows, while low-light environments can introduce noise (graininess) in your footage.
For indoor shoots, you’ll need to get creative with available light sources. Using soft, diffused light is crucial to avoid harsh shadows or overly bright spots. This can be done by placing a sheer curtain over a window or using lamps with soft, warm bulbs. If you plan to shoot videos regularly, investing in a ring light or portable LED panel will give you more control over your lighting.
- Expert advice: Always ensure that your light source is in front of your subject, not behind. Backlighting can cause the subject to appear as a silhouette, which can be hard to correct in post-production
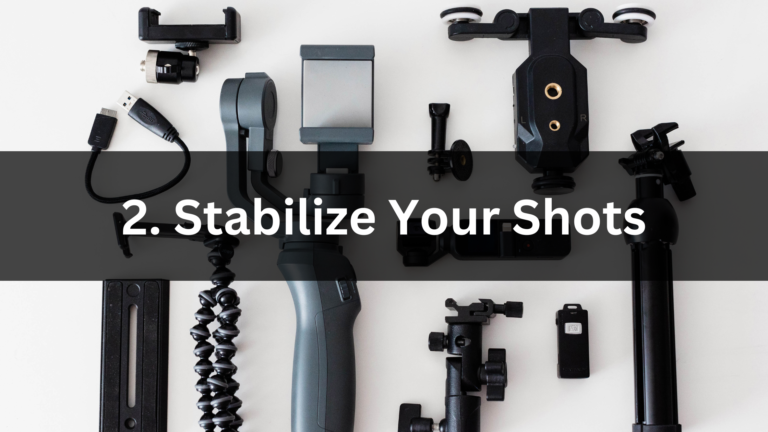
Shaky footage is a common problem for mobile videographers, and it can easily make your videos look amateurish. While iPhones are equipped with some level of built-in image stabilization, it’s not enough for all situations. A stable shot not only looks more professional but also allows your viewers to focus on the content without the distraction of movement. To achieve smooth shots, use a tripod or gimbal whenever possible.
Even if you’re filming on the go, handheld stabilization techniques can help. If you don’t have a tripod handy, try holding your phone with two hands and using your body as a stabilizer—keep your elbows close to your body and move slowly and deliberately. When possible, rest your phone against a solid object like a wall or a table to reduce movement.
- Expert advice: If you’re serious about mobile content creation, invest in a gimbal for those moving shots. Gimbals provide motorized stabilization, allowing you to shoot smooth, cinematic sequences even while walking or moving.
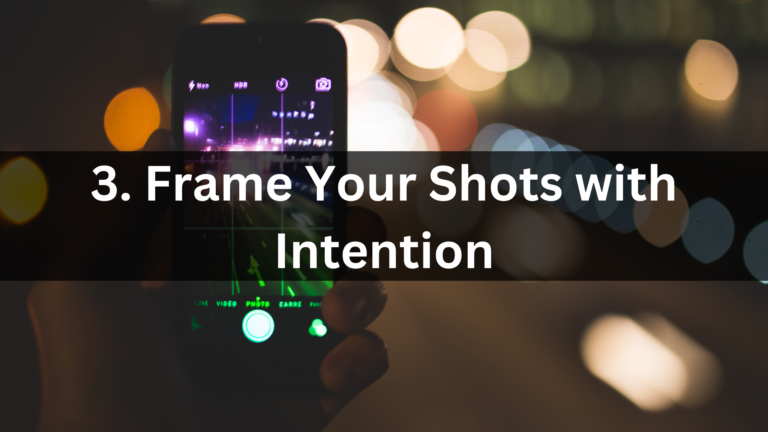
Framing is one of the most important aspects of videography, as it directly impacts how your audience perceives your subject. The rule of thirds is a classic guideline in visual composition. By dividing your frame into nine equal sections using two vertical and two horizontal lines, you can create more balanced and dynamic shots. Positioning key elements (like a person’s face) along these lines or their intersections can make the image more engaging.
Framing isn’t just about positioning your subject, though. Pay attention to your background as well. A cluttered background can distract viewers from the main subject, while a clean, thoughtfully arranged background can enhance the focus. Symmetry, depth, and leading lines can all contribute to creating a more visually appealing composition.
- Expert advice: Activate the grid function in your iPhone’s camera settings. This will overlay a rule-of-thirds grid on your screen, helping you frame shots more intentionally and ensure horizon lines are level.
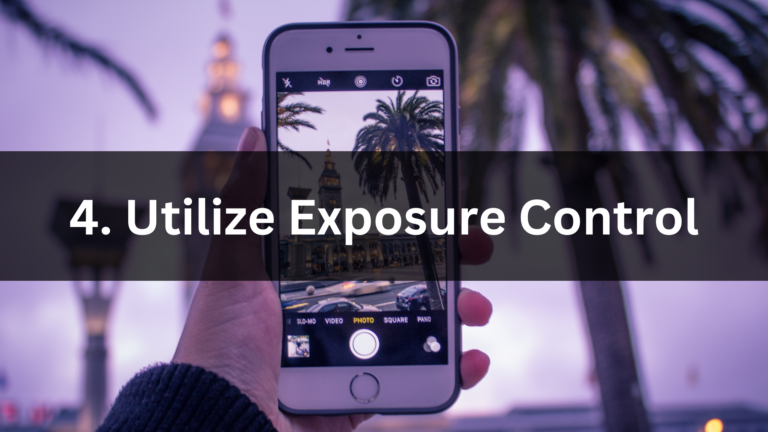
Exposure refers to how much light your camera sensor takes in. Getting the exposure right is critical to preserving the detail and color in your footage. iPhones allow you to manually adjust the exposure by tapping on the area where you want to focus and dragging your finger up or down to increase or decrease the brightness. This feature gives you more control over how your video looks, ensuring that the scene isn’t too bright (overexposed) or too dark (underexposed).
When shooting outdoors, you might encounter situations where parts of your frame are overexposed (too bright) while others are underexposed (too dark). In such cases, try focusing on the brightest part of the image and reducing exposure slightly. You can always brighten shadows in post-production, but it’s harder to recover blown-out highlights.
- Expert advice: Avoid over-relying on exposure correction in post-production. Try to get the exposure right while shooting. If you're filming in challenging light, experiment with locking the focus and exposure by holding your finger on the screen.
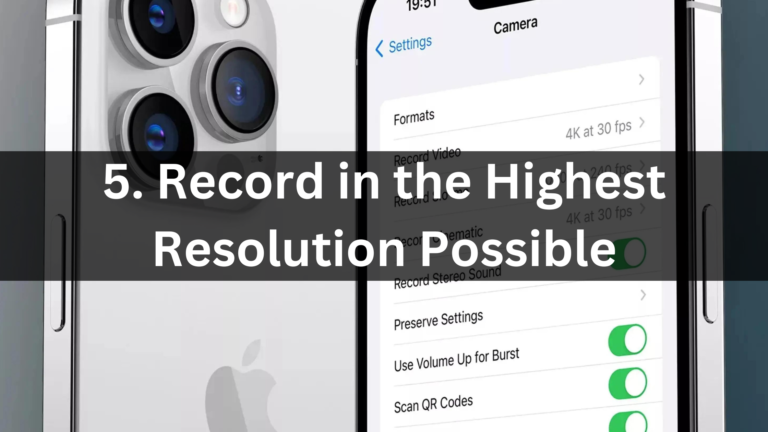
The higher the resolution, the more detail your camera can capture. iPhones allow you to shoot in 4K, which provides much more clarity and detail than standard HD. Shooting in 4K is especially beneficial if you plan to edit your footage afterward. You’ll have more flexibility to crop, zoom, or stabilize without losing significant quality. While 4K videos take up more storage space, the trade-off is worth it for professional-looking content.
4K footage isn’t always necessary for social media platforms, which often compress video files, but it can make a big difference if your content will be displayed on larger screens or edited heavily. If you’re limited on storage, consider using 1080p HD, which still offers excellent quality for most applications.
- Expert advice: In the iPhone camera settings, set your video recording to 4K at 24fps or 30fps. If you’re filming fast-moving action, bump it up to 60fps for smoother motion, though be mindful of the increased storage requirements.
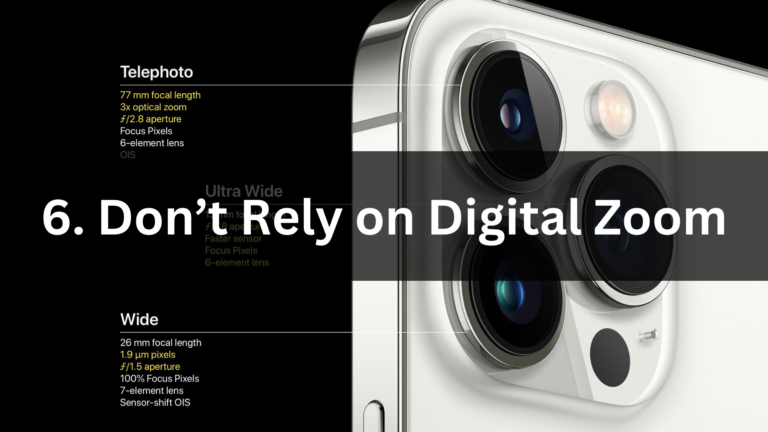
When shooting video, it’s tempting to zoom in to get a closer shot. However, iPhones primarily use digital zoom, which works by cropping the image and can result in significant loss of quality. Instead of zooming in digitally, try physically moving closer to your subject. This ensures that you capture as much detail as possible without degrading the image quality.
On newer iPhone models with multiple lenses, optical zoom is available, which retains image quality. This can be useful for getting closer to your subject without sacrificing detail. Always try to prioritize optical zoom over digital zoom if you need to get closer.
- Expert advice: When you need close-up shots, use your iPhone’s telephoto lens if available. This provides 2x optical zoom with no quality loss, which is much better than zooming in digitally.
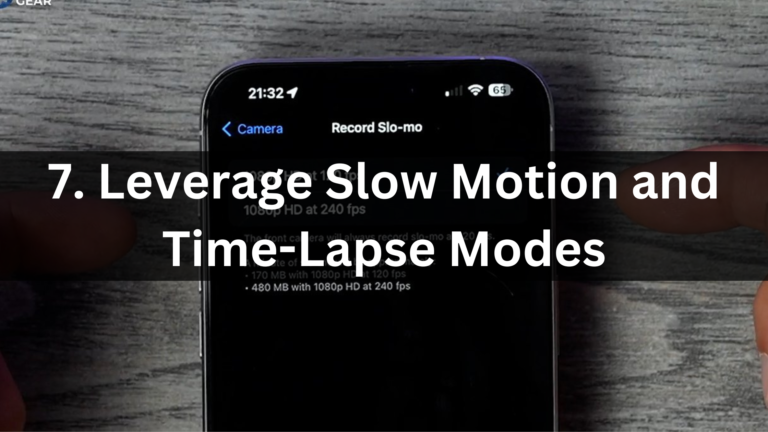
iPhones come equipped with slow-motion and time-lapse modes, which allow for creative ways to capture content. Slow-motion videos can turn ordinary moments into dramatic, eye-catching sequences, while time-lapse is perfect for condensing longer activities into a visually compelling clip. These features are great for adding variety to your content and creating dynamic storytelling elements.
Slow-motion is particularly useful for action shots or moments of intense emotion, like a sports event or a dance performance. Time-lapse is ideal for capturing sunsets, moving clouds, or city traffic over time. Experiment with these modes to find creative ways to enhance your storytelling.
- Expert advice: Use slow motion sparingly—too much of it can lose its impact. For time-lapse, always use a tripod to keep the shot steady, as shaky footage in time-lapse can be jarring.

Great visuals are important, but audio quality is equally critical. The iPhone’s built-in microphone is functional, but it picks up a lot of background noise, which can distract from your content. Using an external microphone, such as a lavalier mic or shotgun mic, can significantly enhance your audio quality. Even a small, inexpensive microphone can make a noticeable difference.
Good audio can help your video feel more immersive and professional. If you’re recording outdoors, be mindful of wind and background noises. Many external microphones come with windshields or windscreens that help reduce wind noise.
- Expert advice: For the best results, always monitor your audio while filming. You can use headphones to check what the microphone is picking up, ensuring there are no unwanted noises.
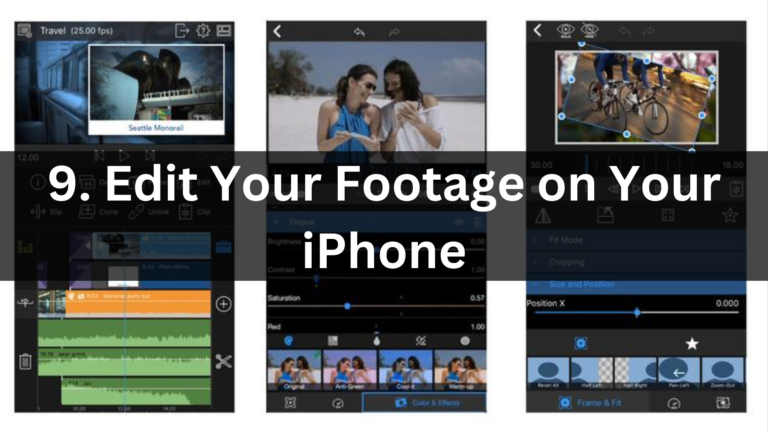
Editing is where your video comes to life, and the good news is that you don’t need a desktop computer to get professional results. Apps like iMovie, LumaFusion, and Adobe Premiere Rush provide powerful editing tools directly on your iPhone. These apps allow you to cut, trim, add transitions, and color-correct your footage, giving you full control over the final product.
Mobile editing allows for a fast and convenient workflow. You can shoot, edit, and publish all from the same device. These apps are user-friendly but still offer advanced features like multi-track editing, audio mixing, and even green screen effects for more experienced creators.
- Expert advice: Focus on enhancing your footage rather than adding too many effects. Simple cuts, clean transitions, and subtle color correction often make a bigger impact than flashy filters or heavy effects.
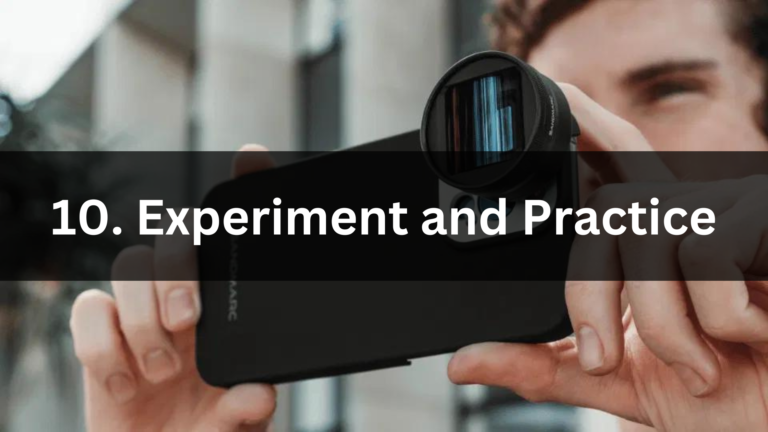
Creativity thrives on experimentation. The beauty of shooting on your iPhone is that you can film whenever inspiration strikes. Don’t be afraid to try different angles, shooting modes, or even unconventional ideas. The more you shoot, the more you’ll learn about what works and what doesn’t, helping you develop your own unique style over time.
- Expert advice: Use different locations, subjects, and lighting conditions to see how they affect your footage. You’ll discover techniques that work best for you, as well as areas that need improvement. The more you practice, the better.
Post Tags :


